ESP8266
(NodeMCU 1.0) Turn LED on or Off via a webpage (last updated: 2017-05-19)
Earlier I
have connected Arduino Uno board to the internet via an ethernet cable.
This time I have found a card named NodeMCU, picture 1, which has
a ESP8266 MCU,
which is both Arduino compatible and
includes ability to connect to a wifi.
The boards also has 10 GPIO, every GPIO can be PWM,I2C or 1-wire.
Beware the GPIO pins support an input voltage of maximum 3.3V.
After
installing the ESP8266 library from here, it
is possible to use the Aduino IDE to program the NodeMCU-board.
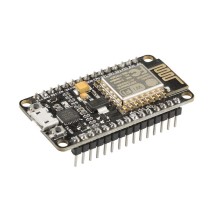
Picture 1: The NodeMCU development board.
I created a program that connects to a wifi and starts a webserver on the NodeMCU-board.
To turn On/Off a LED on the NodeMCU I created a simple webpage, picture 2.
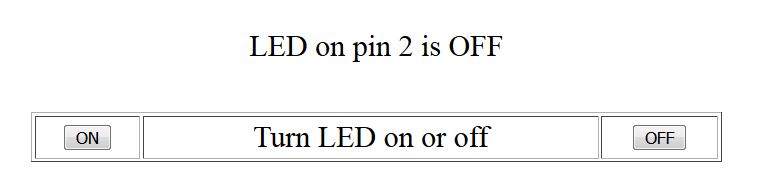
Picture 2: Webpage to turn LED, connected to GPIO pin 2 on and off.
I also created a small script in powershell that converts a html page into a string s.
This makes it easier to import a webpage into the Arduino code.
Links to the files:
======================================
ESP8266WebserverFromExampleButtonNiceHTML.ino
Program to be downloaded to NodeMCU. The SSID and
Password
for the WiFi needs to be changed before downloading. When
opening the serial terminal in Arduino IDE the
IP-adress
will be shown.
Conv_html_Arduino_param.ps1
A
simple script written in Powershell to be run on a Windows machine
and it will convert a webpage into an string s
to be copied into
the Arduino program.
Usage: conv_html_Arduino_param -in
filename.htm -out filenameNew.txt
Conv_html_Arduino.ps1
A
simple script written in Powershell to be run on a Windows machine
and it will convert a webpage into an string s to be copied
into the
Arduino program.
Filenames are hardcoded in the script.
